For the purpose of this course, Ubuntu will typically be installed by the students on one or several second-hand servers or PCs.
Hardware specifications (and possible costs involved) are modest, any machine with a dual-core processor, a couple of GIGs of RAM (or even less for testing purposes), an hard disk (70GB or more), a CD/DVD slot, an ethernet port will be fine for setting up a perfectly working web server able to hold all the students accounts for the duration of the course and beyond.
The installation of Ubuntu has been documented in great detail and is generally easy and user-friendly on most systems. Here’s a good pointer to get started: Installing Ubuntu.
In short:
– You can install Ubuntu from a CD/DVD or a USB stick
– If the PC you are installing Ubuntu on has already another operating system installed, make sure, by accessing the BIOS menu, that in the “boot order” section you select either CD or USB to come before the hard disk, so that the PC has a chance to boot from the CD or USB stick you will be using
– To create an Ubuntu CD or DVD just burn to an empty disk the iso image that you can download from the Ubuntu web site
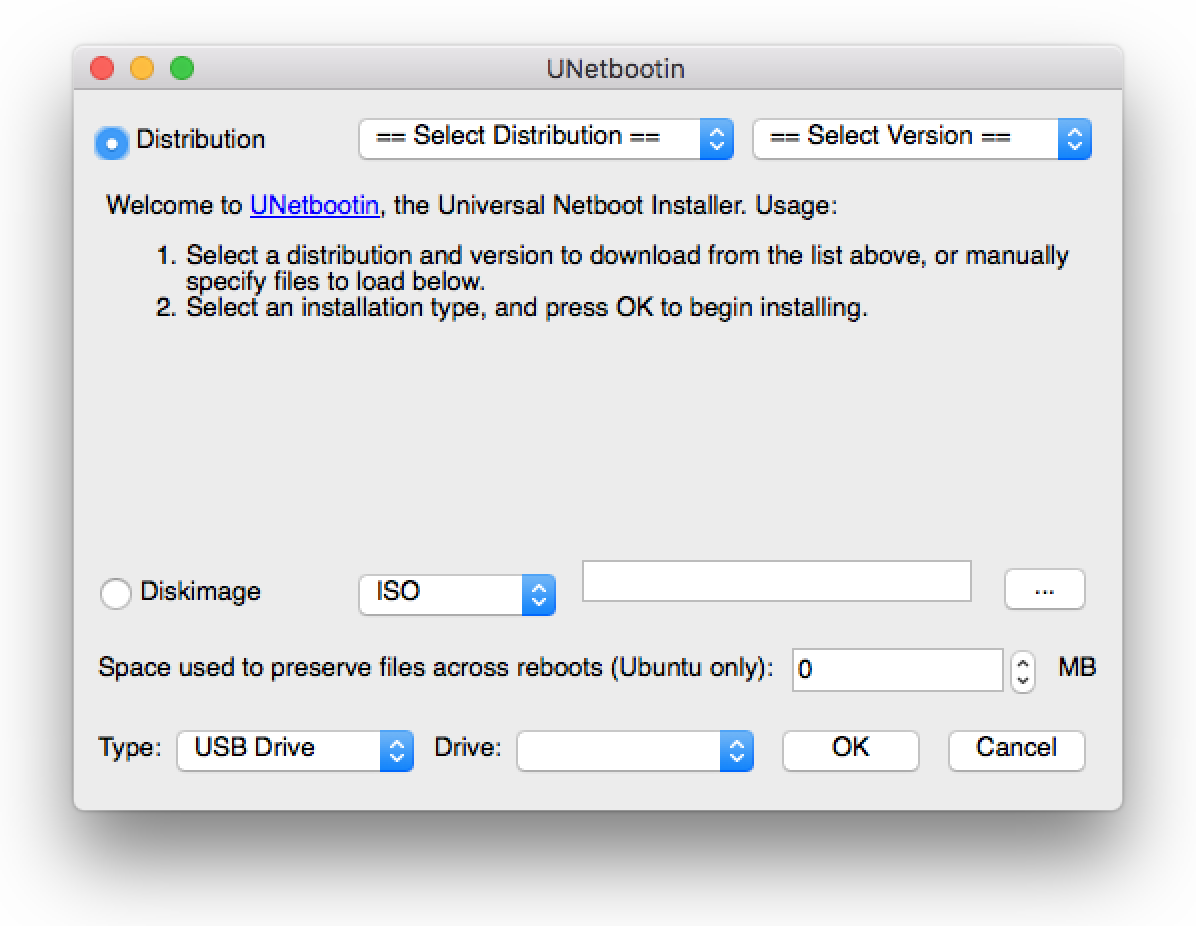
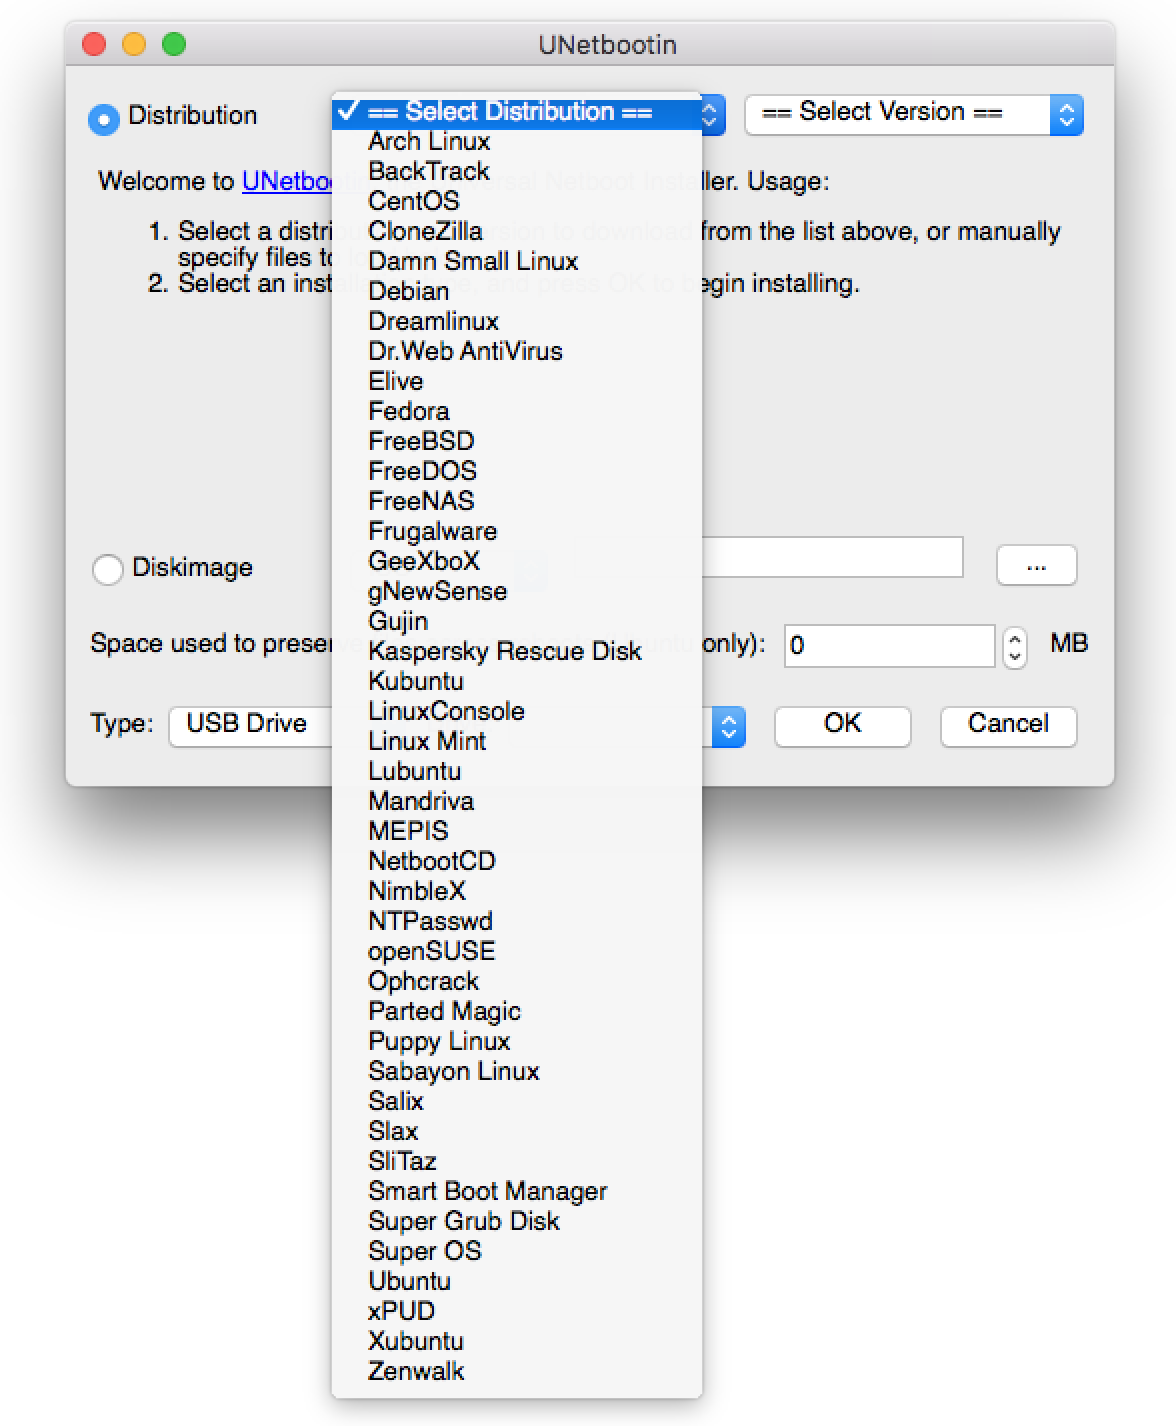
– To create a bootable USB sick a possibility is to use the UNetbootin software, available for Linux, Mac and Windows. UNetbootin can load many Linux operating systems for you, at the time of the USB stick creation, or you can use your own iso file


– Once the PC boots from the CD/DVD or USB stick, just follow the instructions on the screen, it is that simple.
If another OS is already present on the PC, Ubuntu will offer you the option to wipe everything and install Ubuntu as the only operating system, or to install Ubuntu alongside the existing OS. In this second case, you will be able to make some choices about how much space to reserve to Ubuntu on the disk.
In order to keep this initial installation process as smooth as possible, we generally proceed to the installation of a Desktop Ubuntu release, which is more user-friendly, as first impact, then server releases. For one, desktop releases come with a graphical environment similar to the one that users of other operating systems are used to. Few additions (software installations) will turn a Desktop Ubuntu in a perfect web server. We will discuss the required software (LAMP server, SSH server) and related installation procedures and configuration in detail in the upcoming sections of this chapter.
Once students become familiar with Linux Ubuntu, they might want to go ahead and install Ubuntu alongside or maybe instead of the operating system they already have on their own laptops. As mentioned above, the Ubuntu installation CD offers, as an installation option, to format the disk of the computer to create a dedicated partition for Linux installation. We will not go in the details of this here, but just remember that before any major computer operation such as the installation of a new operating system it is a wise idea to make a full backup of the existing data. Data loss is always a possibility, should something go awry during installation.
Under these circumstances, a Boot-loader is also installed, that will allow the selection of the operating system to use, at boot time (for example Windows or Linux). At the time of this writing, the default boot-loader installed with Ubuntu is Grub 2.
The possibility to work and develop locally on one’s own local hardware, either laptop, desktop or server should be pursued actively as it allows a full control of the system (you often cannot get a full privileges/root access on somebody else’s machine) and ultimately leads to a development of system administration skills that are difficult to develop as a mere guest user. Having full control is more difficult, because, especially at the beginning some tasks, such as for example apache configuration, might seem complicated and will take a fair amount of time. On the long run however, this means having full control of your environment and a more aware and skilled user.
We encourage you to select the hard path of taking full control, it will pay off. Put you hands on a used PC, install linux from scratch as the only operating system, connect the machine to the internet, have fun. Then install Linux alongside your existing OS on our laptop, if you have one.
As an alternative to an “hard install” on a PC or laptop, Linux can also be installed as a virtual machine on either Windows, MacOS or another Linux machine. This has the great advantage, especially for testing or educational purposes, that a virtual machine requires no special permanent commitment of resources for the hosting PC. You can think about a virtual machine as “disposable”. Install one, learn all you need, then delete it when you are done.
The downside of a virtual machine is that it might be slightly less performant (somewhat slower and less responsive) with respect to a native machine, because of the virtualization layer. However on a modern PC with a fair processor and a reasonable amount of RAM you may well not even notice that.
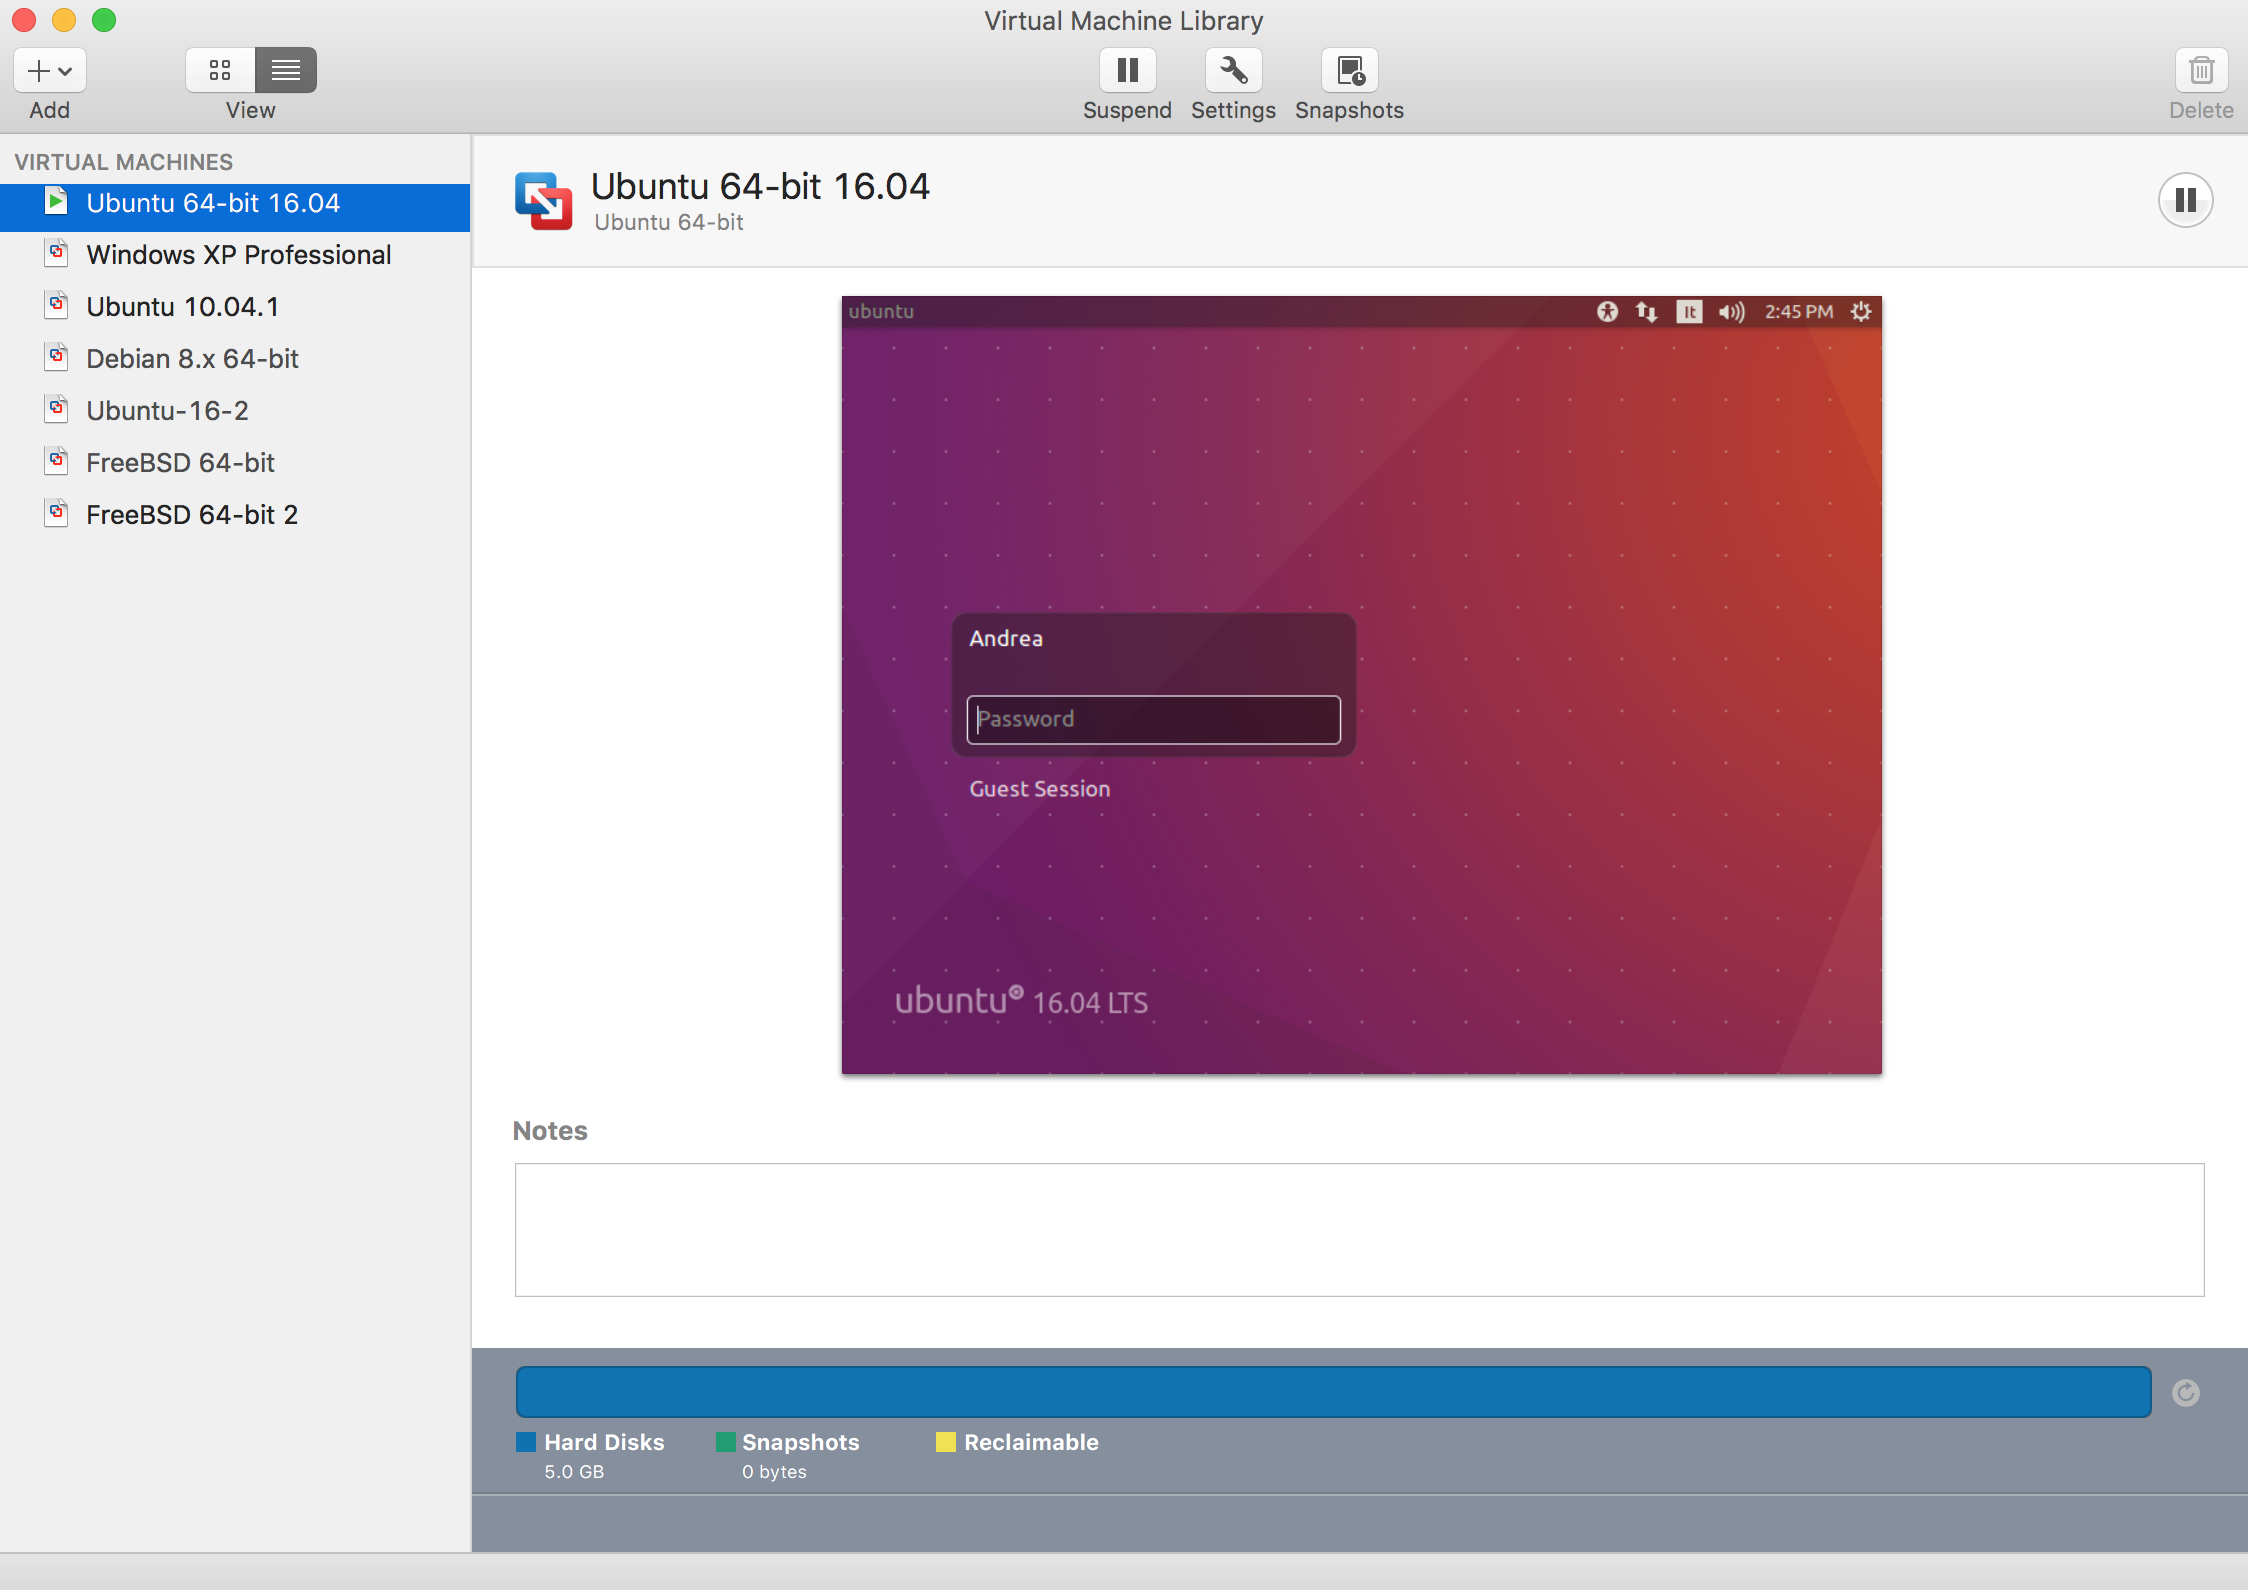
The classical and free software for the implementation of virtual machines is VirtualBox by Oracle. If you use a Mac, consider Vmware that offers a wide range of virtualization solutions, including Fusion for Mac. Fusion is not free, but it is still worth considering as it is a great and full featured software for the creation of virtual machines in a Mac environment.

Chapter Sections
[pagelist include=”63″]
[siblings]